|
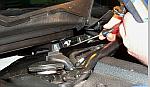
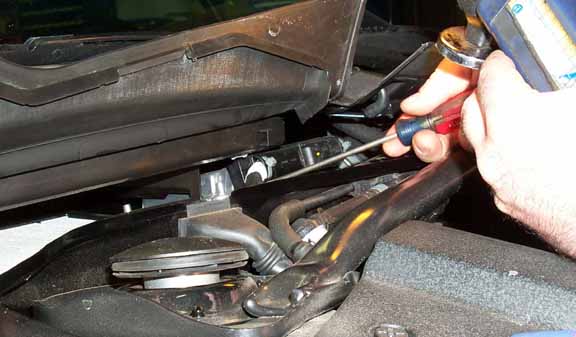
Once the front cowling was
lifted out of the way, Todd removed the two plugs going into the ECU.
|
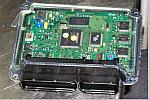
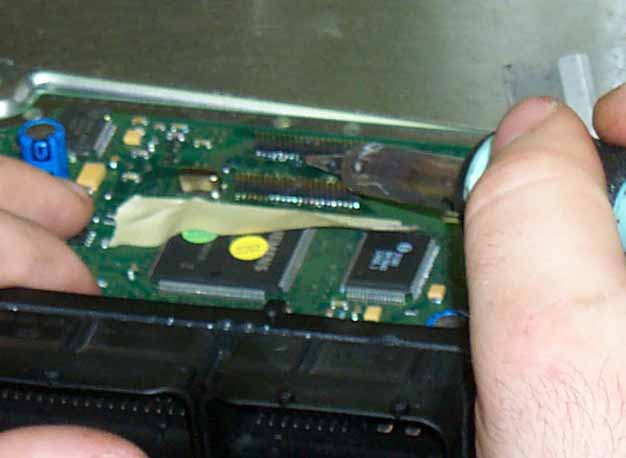
This is the ECU with the cover removed. The chip
is the rectangle at the top center.
|
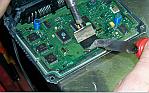
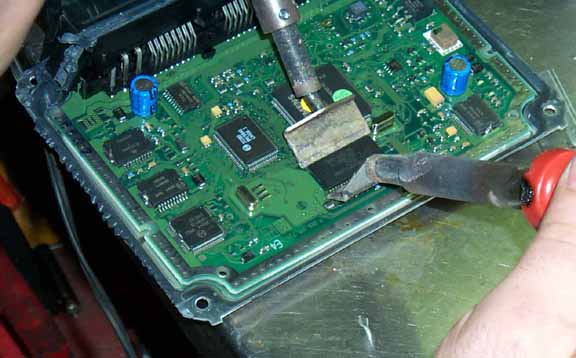
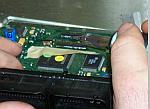
Todd takes two flat-bladed soldering irons and puts
them on either side of the chip. He melts the solder to remove the
factory chip.
|
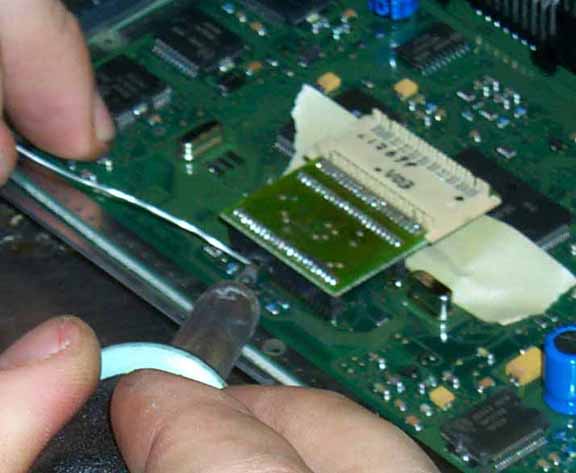
Here Todd is soldering on the Garrett socket that will
be used to accept the new Garrett chip.
|

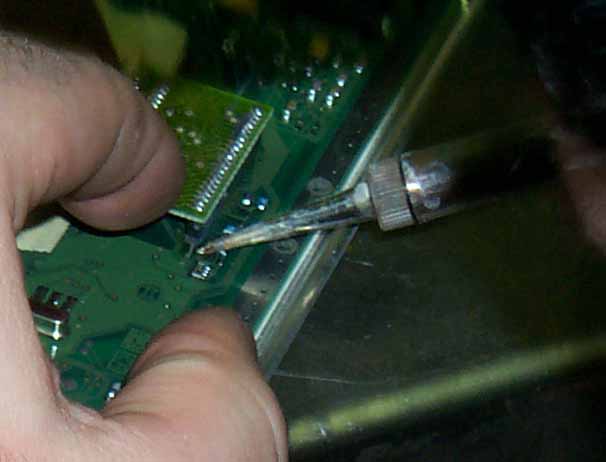
Todd is finishing up the soldering on the outside
connections of the socket onto the ECU.
|
Todd is finishing up the soldering on the inside
connections for the socket onto the ECU.
|
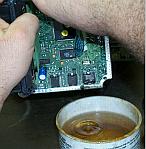
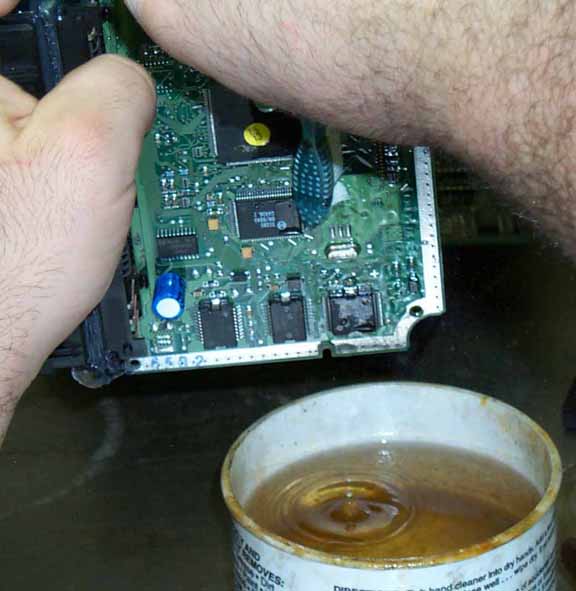
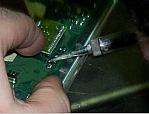
Todd is cleaning off any excess flux and solder.
|
The New Garrett chip being flashed in an EPROM burner.
|
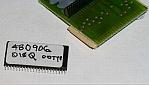
The New Garrett Chip and socket before installation
into my TTQ.
|

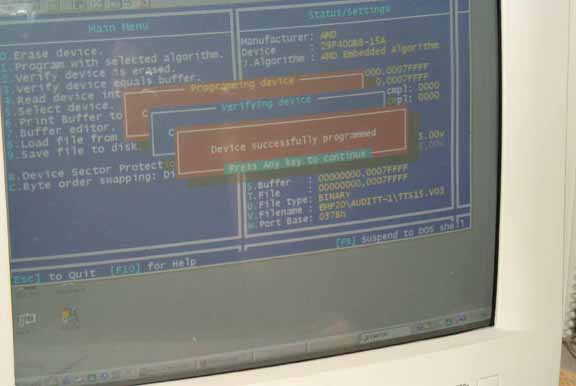
A close-up of the program after it finished flashing
my EPROM.
|

The finished product installed into my ECU before
having the cover closed and placed back into my TTQ.
|