Click on any of the photos to see a more detailed picture.
|
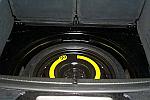
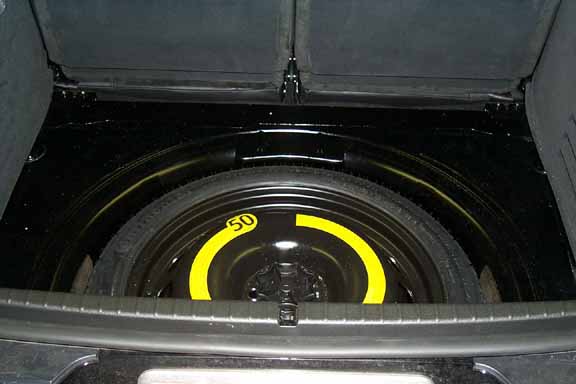
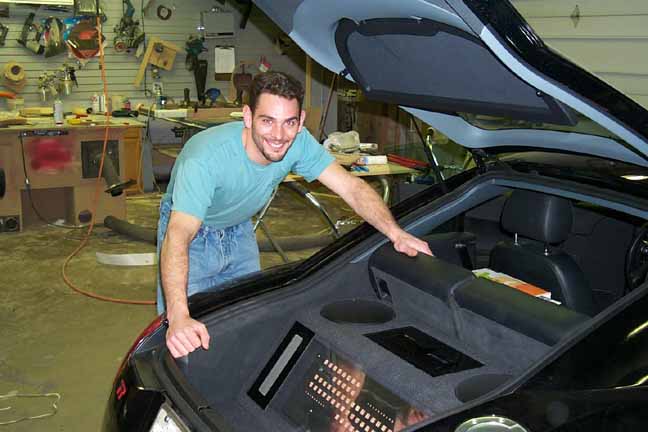
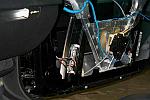
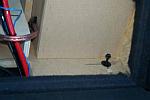
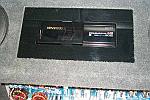
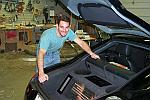
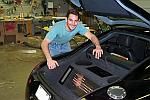
This is the
TTQ trunk before the install begins
|
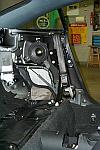
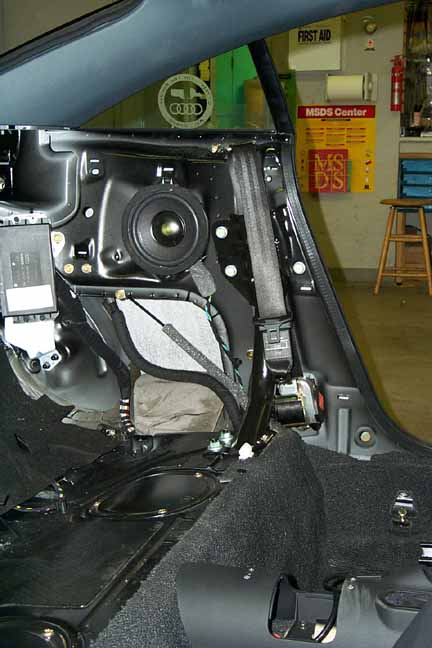
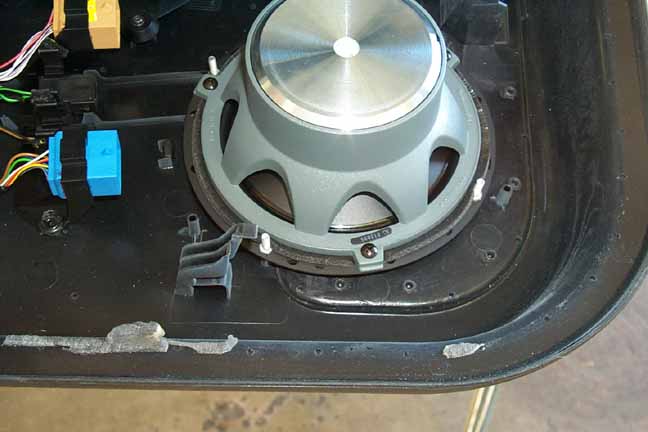
Drivers side Bose speaker, you can see the rear
seats are gone and so is the cup holder!
|
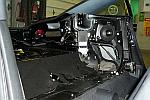
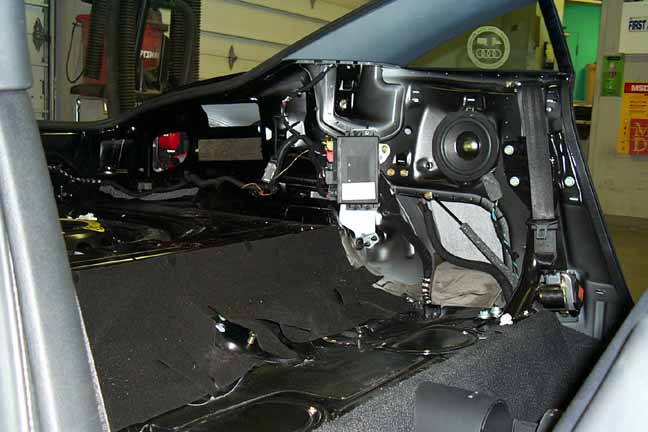
Drivers side
Bose speaker and also most of the hatch area. You can also see the
place where the Boston crossovers will be placed.
|
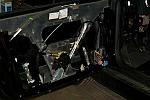
Drivers door
minus the skin! Even underneath the TT is aluminum and beautiful!
|
|
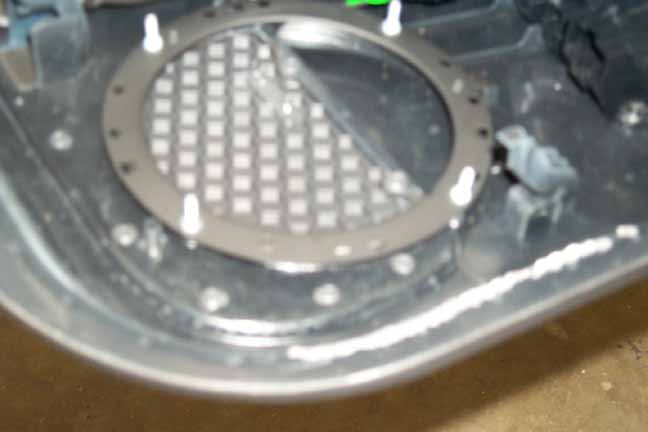
Passengers side door close-up of
where the BostonAcoustics
Pro 6.5 separates will be going.
|
Passenger door
skin and the placement of the BostonAcoustics
fitment ring.
|
Passenger door
skin and the placement of the second BostonAcoustics
fitment ring & speaker connectors.
|
Passenger door
and the placement of the BostonAcoustics
fitment ring & speaker connectors.
|
|
BostonAcoustics
6.5 Pro speaker installed in the Passenger door skin.
|
Passenger door skin showing the cables going from the door to the BostonAcoustics
6.5 Pro.
|
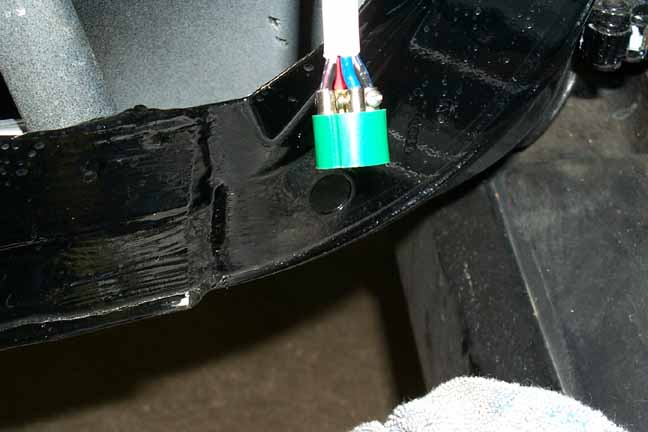
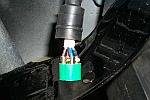
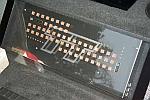
Custom connector that will allow
the door skins to be removed if any work would need to be
performed. The connectors are inside each door and connected to
the Monster Cable.
|
Another
picture of the custom connector.
|
|
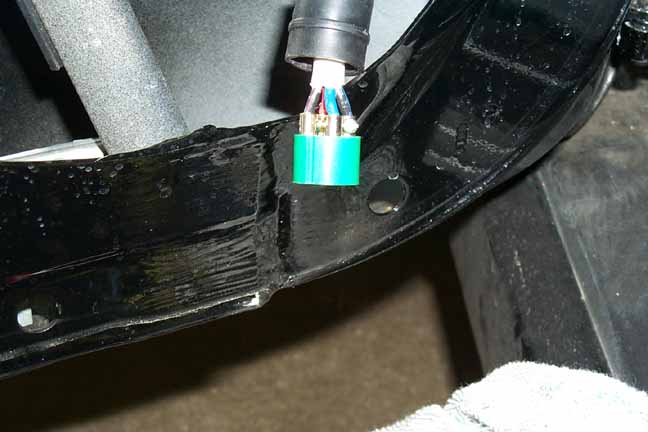
A close-up of
the custom connector with the waterproof boot that goes over all of the
connectors.
|
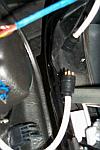
The
custom connector in the passenger door. You can see the BostonAcoustics
magnet on the left covered with the factory protection.
|
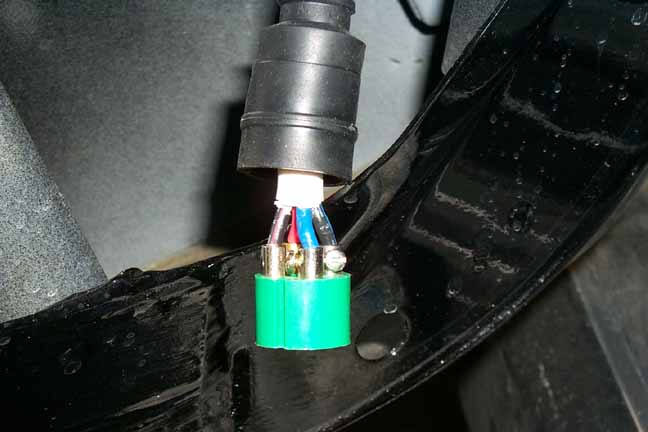
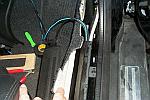
The custom
connector all hooked up before the door skin got reattached. You
can see the BostonAcoustics
magnet at the bottom of the photo covered with the factory
protection.
|
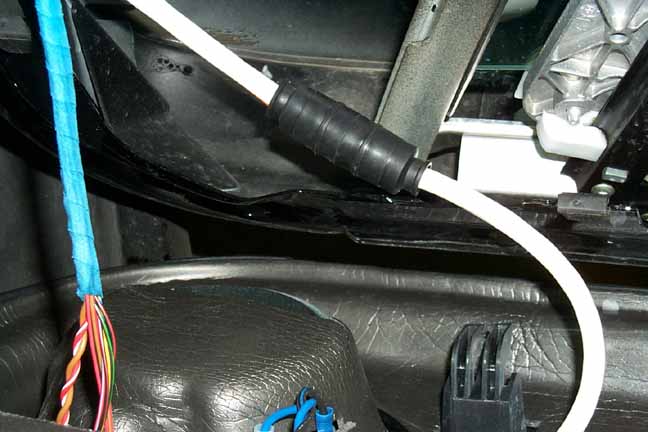
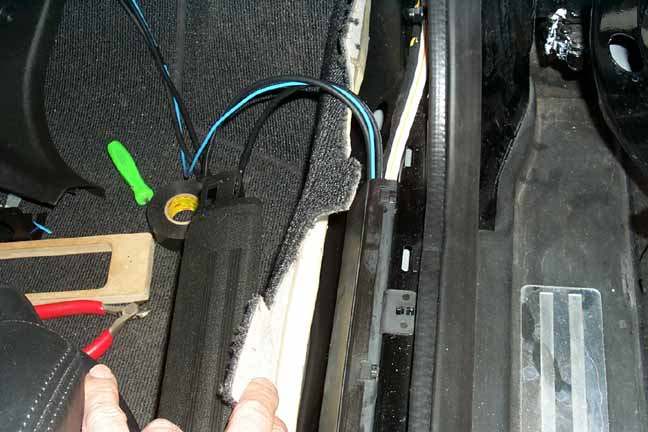
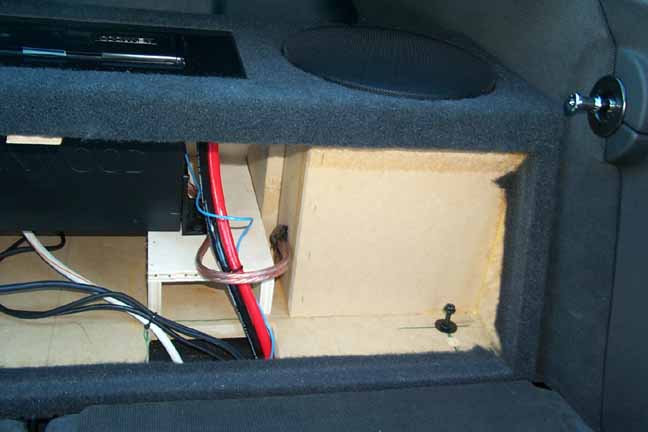
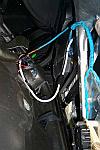
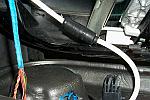
Some of the
cables being run along the drivers side door sill towards the back of
the car.
|
|
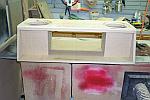
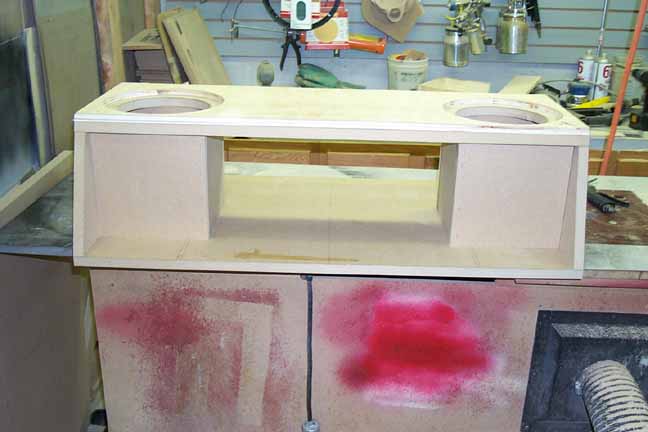
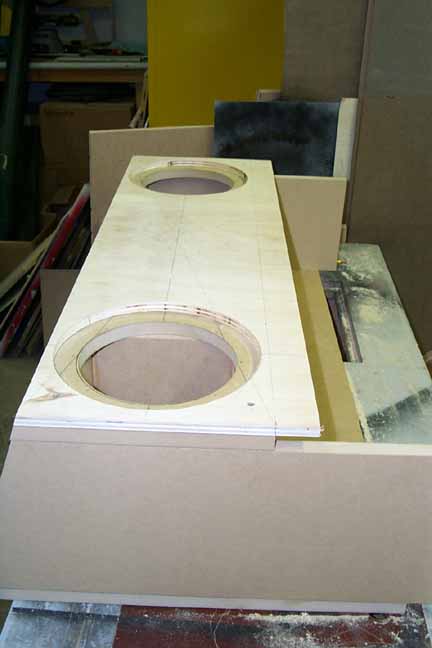
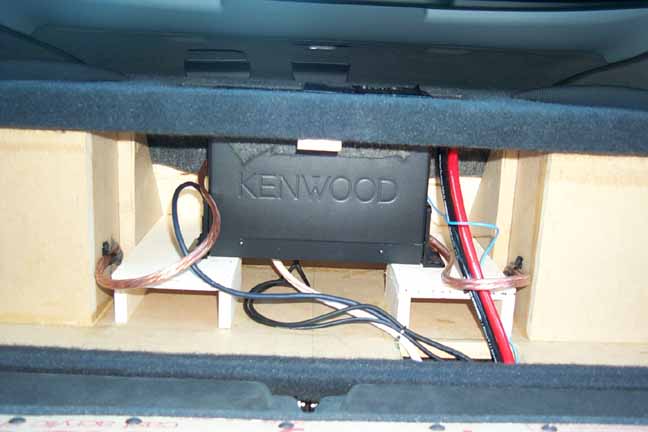
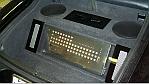
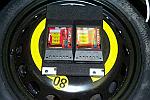
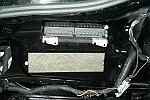
The custom
sub/amp/cd changer box.
|
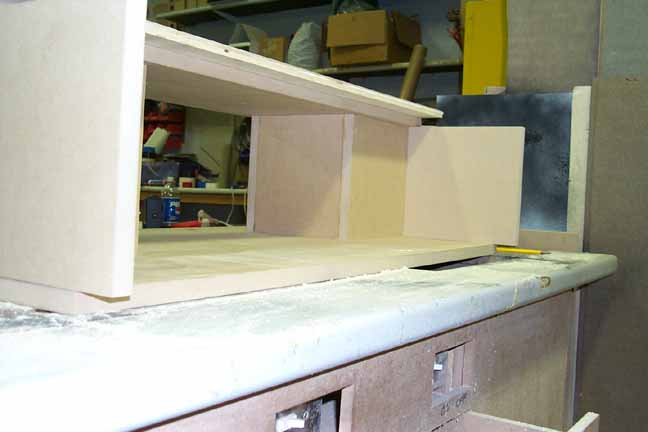
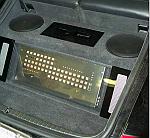
The custom
sub/amp/cd changer box.
|

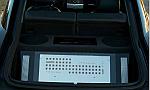
The custom
sub/amp/cd changer box.
|

The custom
sub/amp/cd changer box.
|
|
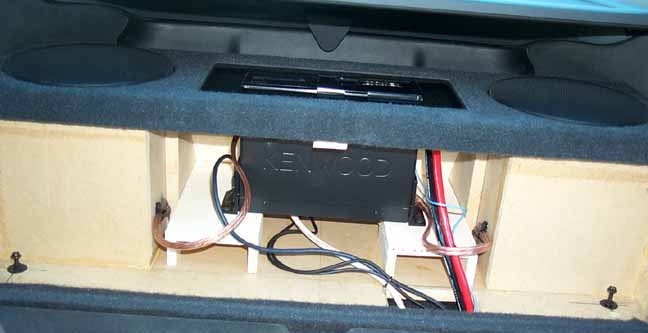
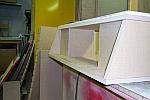
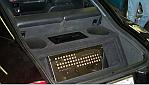
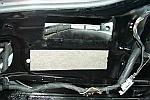
The back of
the custom enclosure, this is from inside the car and will eventually be
covered. You can see the cd changer in the center and the subs on
either side of it.
|
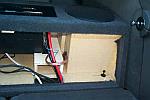
A close-up
look of the drivers side sub. You can also see the bolt in the
bottom corner that is actually attached to the car.
|

A close-up of
the passenger sub and how the enclosure is connected to the
TT.
|

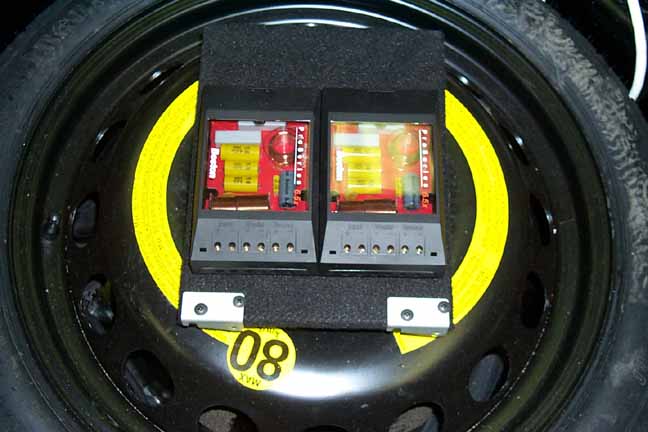
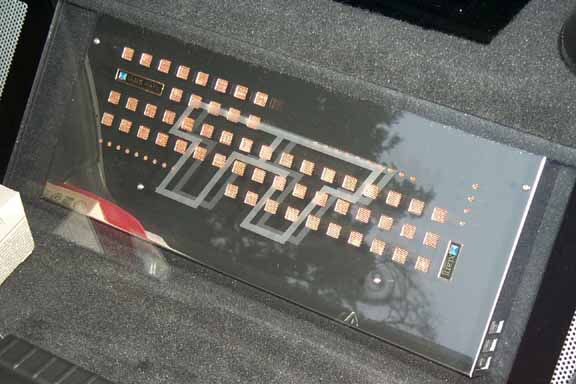
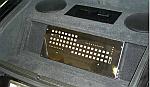
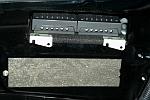
Close-up look
of the Kenwood KDC-CX82 CD Changer. The power cord is coming in on
the right.
|
|
The bolts are
10mm and can be removed using the factory supplied wrench! The
bolt is going down to where the tie-down hook used to be.
|
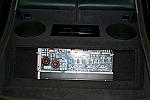
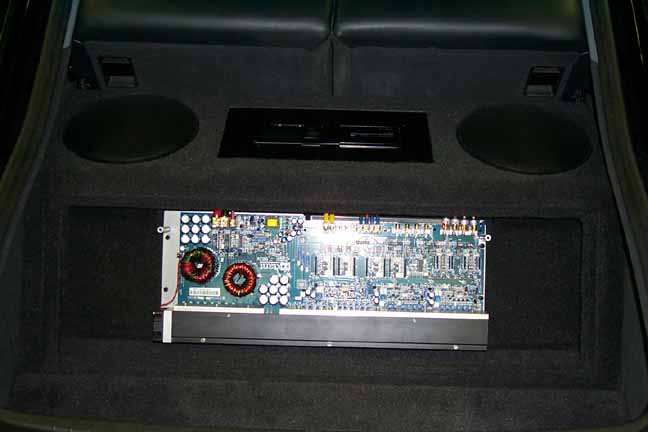
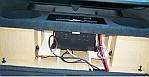
Taken from the
back of the car, this is the xtant 603x amp with the cover
removed. Chris still had some tuning to finish.
|
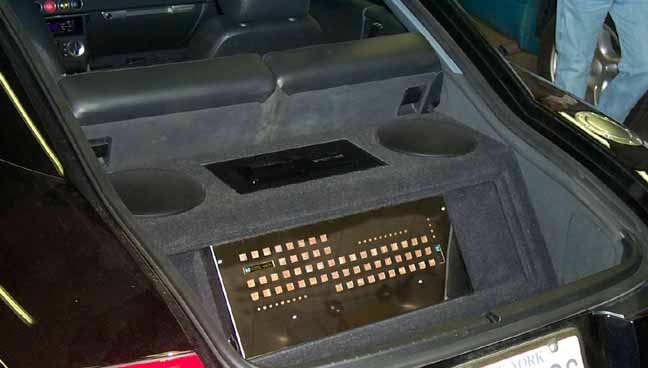
The xtant 603x
cover is now on and awaiting the final touches.
|
The stereo is
now complete.
|
|
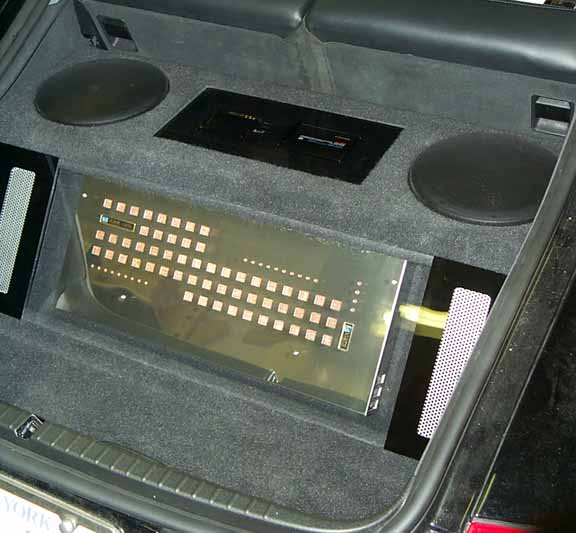
The
plexi-glass amp cover with two aluminum cooling vents on either side are
added by Chris as a finishing touch! The amp really looks good
under glass.
|
A closer look
of the finished enclosure.
|
A picture
taken from directly behind. Not easy keeping ME out of the
reflection in the amp! lol
|
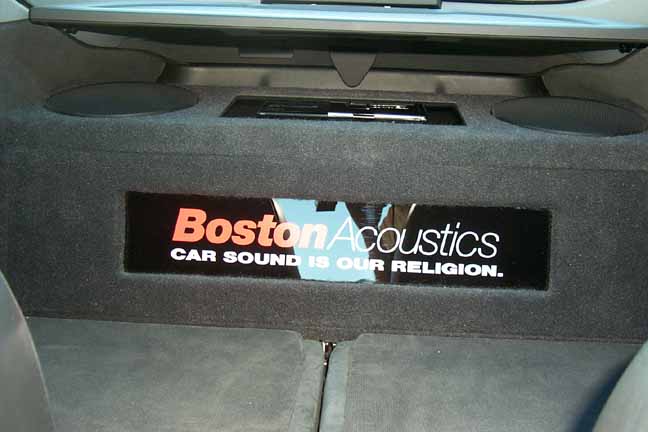
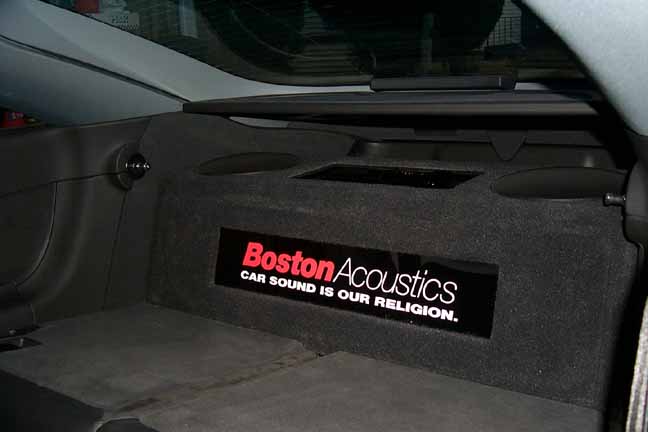
I folded down
the rear seats to reveal a surprise that Chris added as a nice finishing
touch!
|
|

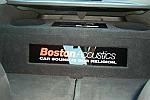
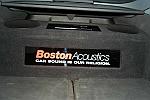
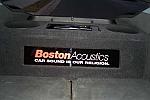
If you are
trying to read the sign:
BostonAcoustics
CAR SOUND IS
OUR RELIGION
|

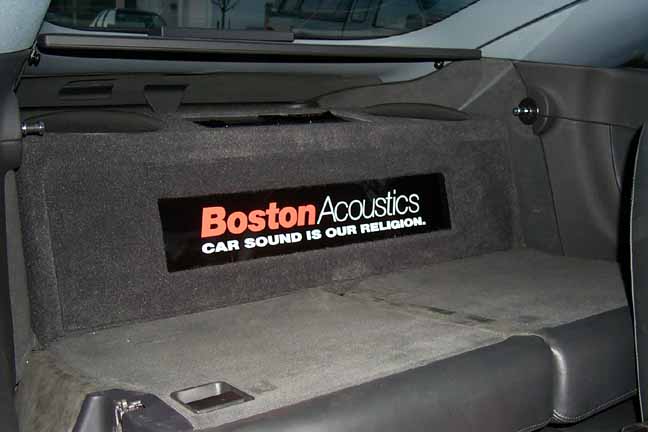
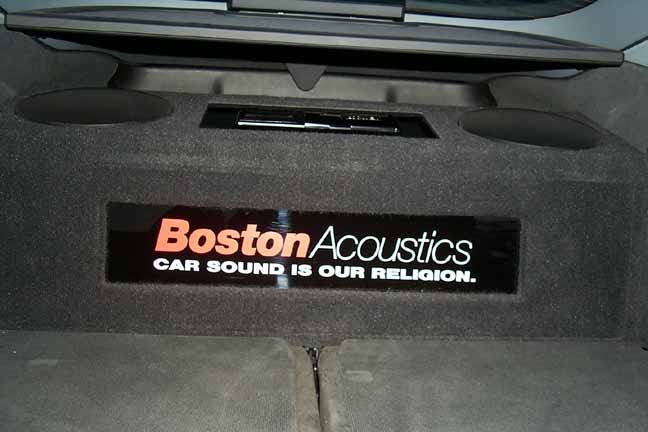
Just more
shots of the back seats folded down
|

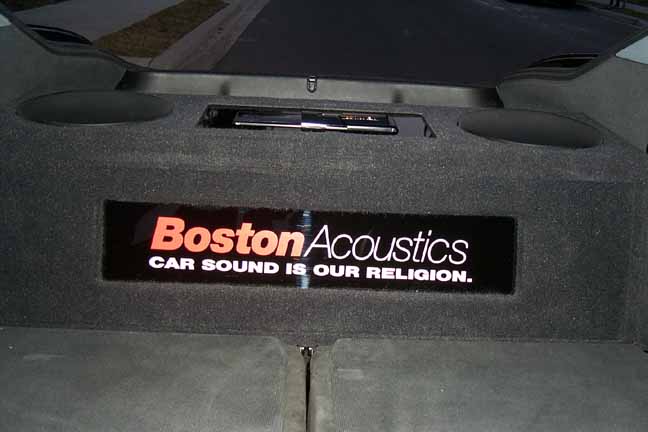
Taken from the
drivers side this time.
|
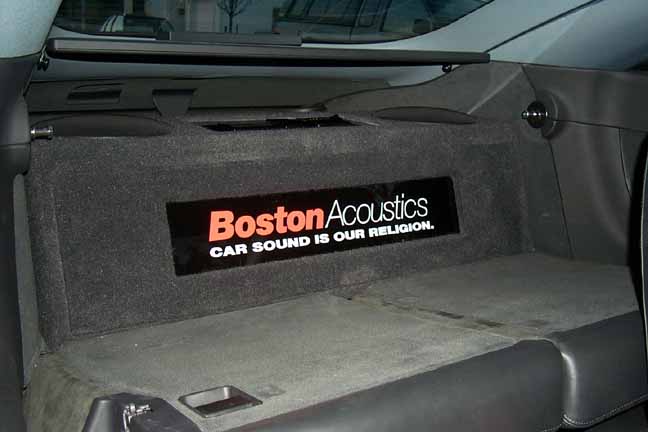
Not easy
getting into the middle of a TT and back far enough to get a head on
picture.
|
|
I took two to
make sure that one came out.
|
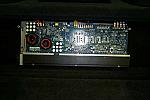
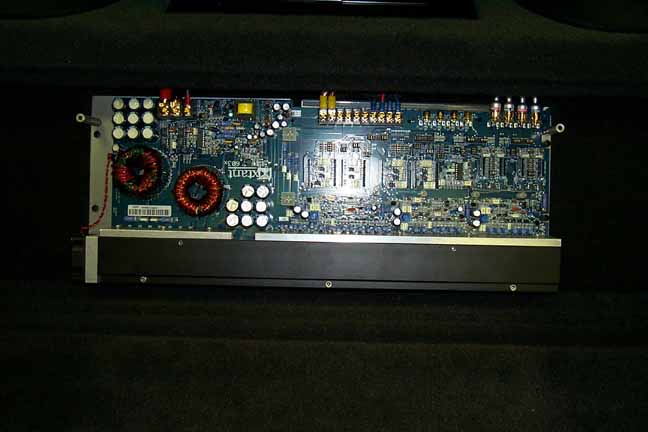
A close-up of
the xtant 603x amp without the cover on it.
|
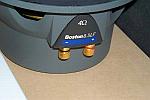
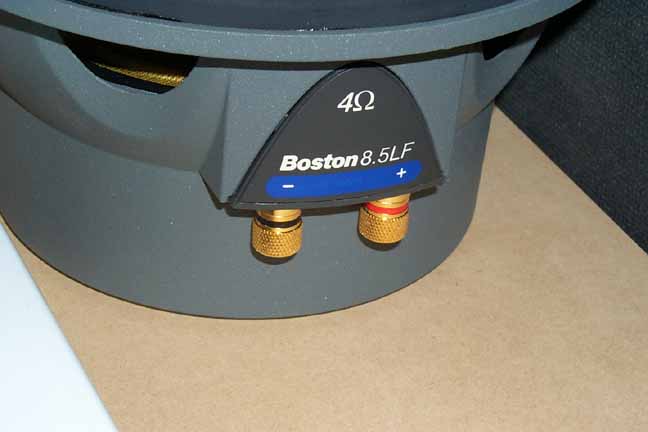
A close-up of
the
BostonAcoustics
Pro 8.5LF
|
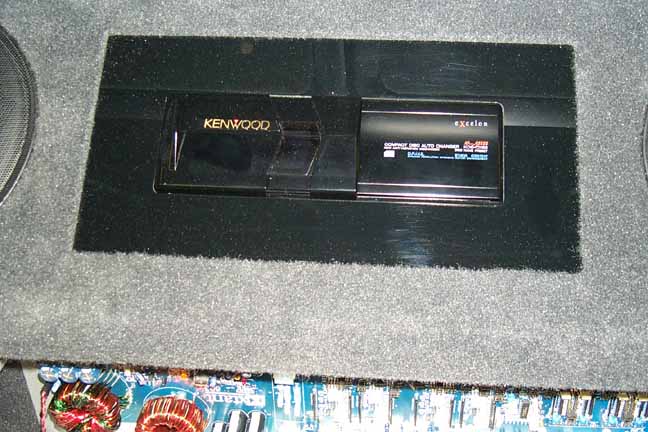
A close-up of
the Kenwood excelon KDC-CX82 CD
Changer. It is surrounded by black plexi-glass.
|
|
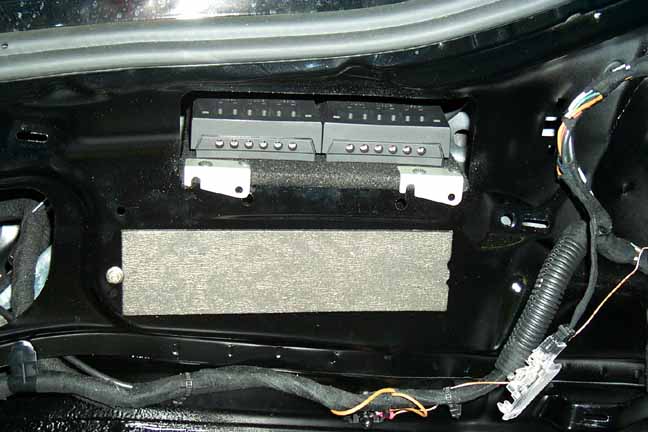
The BostonAcoustics
passive crossovers for the Pro 6.5's. Chris mounted the crossovers
on a board.
|
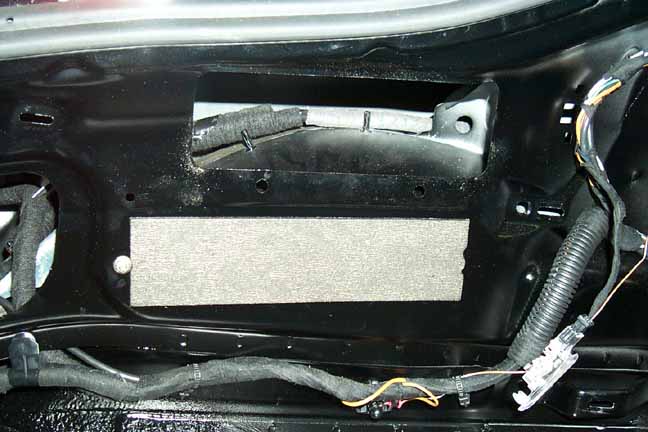
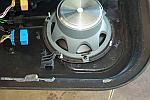
Chris found a
very convenient hiding place for the crossovers. The opening was
here and is above the drivers side rear spring/shock. It is out of
the way and easily accessed if needed.
|
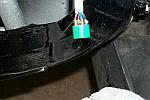
The crossovers
on their mounting board and installed in there hiding place!
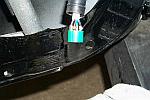
|
The crossovers
already installed, you can see the hatch gasket above for a referance.
|
|
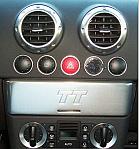
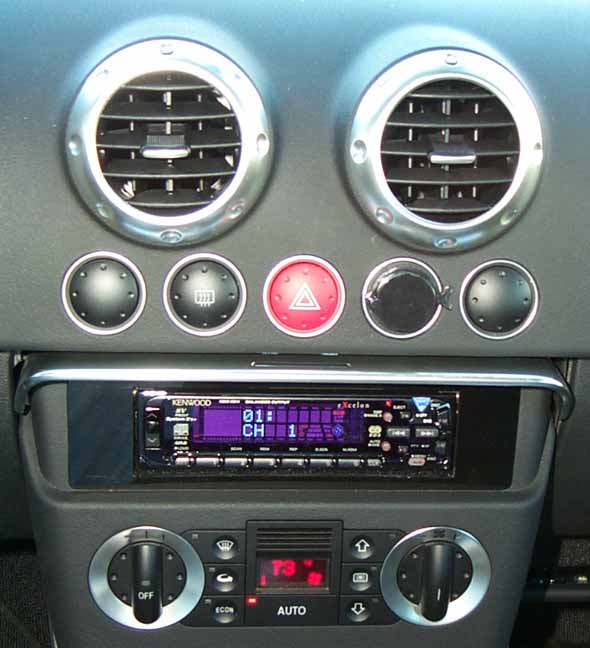
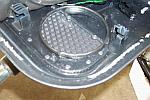
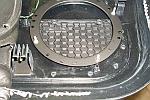
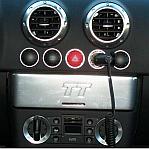
The TT
aluminum door does close whether the radio is playing or not! can
you see anything that is NOT factory in this picture?
|
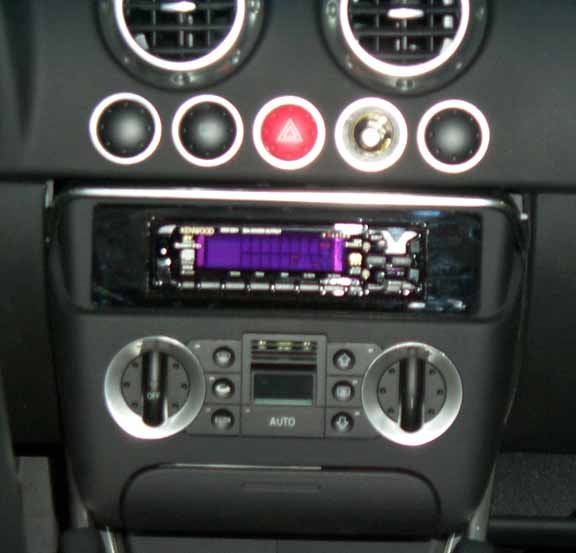
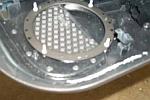
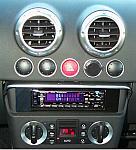
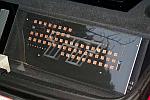
The aluminum
door opened and the Kenwood MASK revealed! This is actually the
face, flipped over.
|
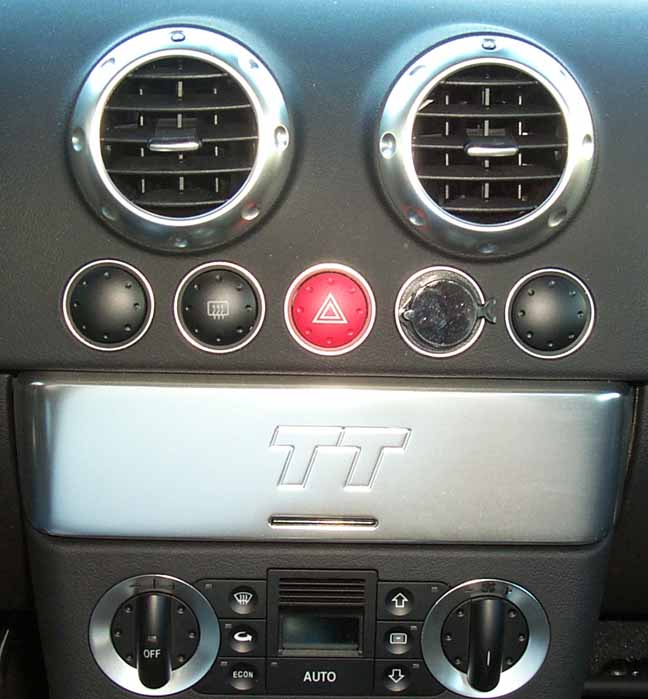
I had an
accessory outlet installed into one of the empty buttons above the
radio. I hated having to leave my ashtray open to charge my cell
phone. It is a Radio Shack part.
|
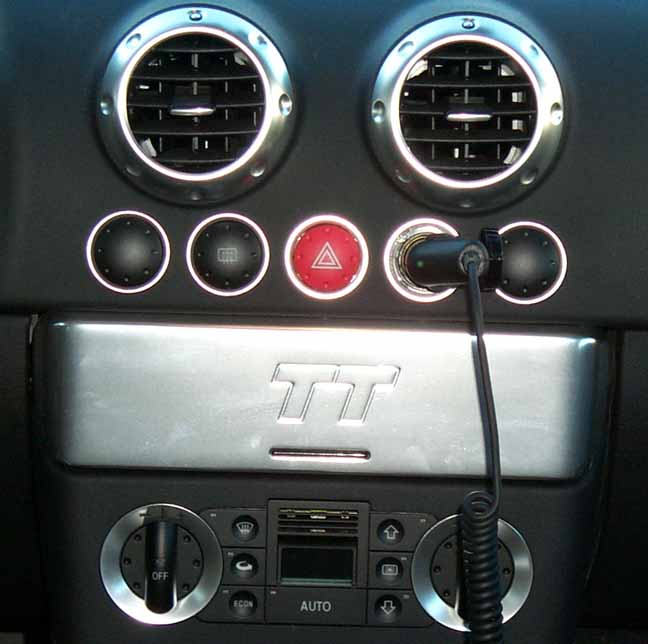
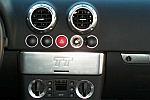
My cell phone
plugged into my nw accessory outlet.
|
|

Close-up of
the cell phone plugged into its new home.
|
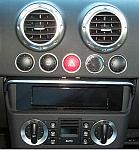
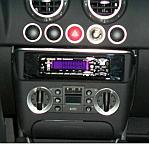
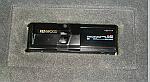
The front of
the Kenwood excelon KDC-X911 head unit
|
The head unit
and the accessory adapter both open.
|
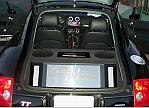
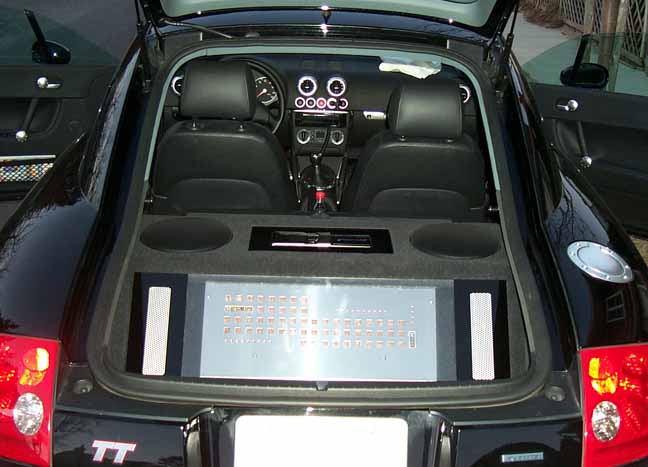
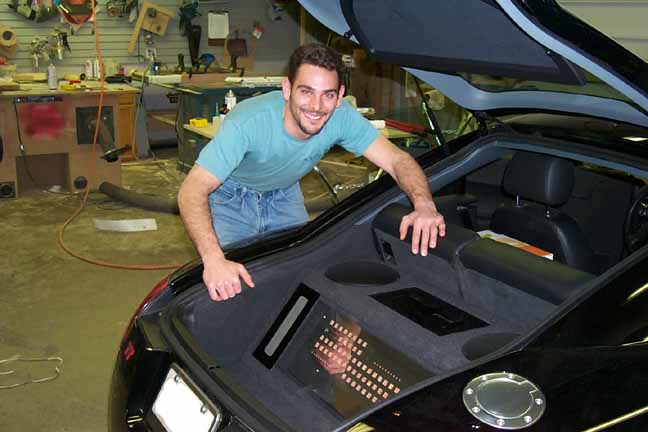
The entire car
opened up for you to see!
|
|

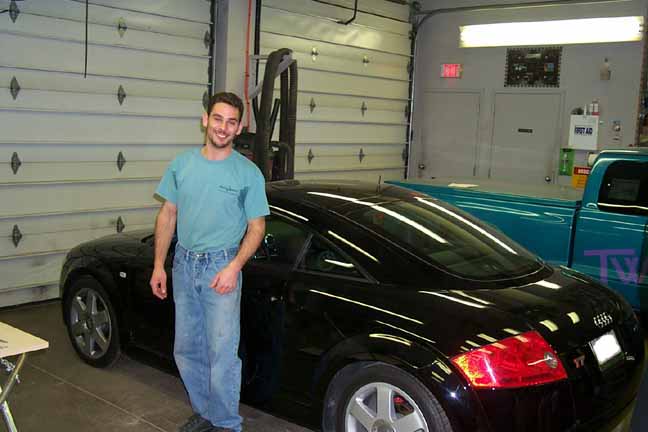
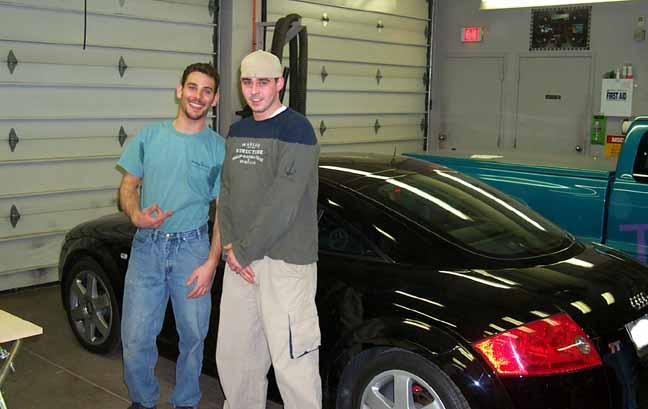
Chris
Pound my installer at 1:30am Saturday March 4, 2000 and my awesome
sounding TTQ!
|
Chris
and my custom stereo that he had just finished installing.
|
Chris
and my custom stereo that he had just finished installing.
|
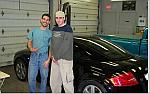
Chris
and Cain Bussolini after the installation was finished and the tuning was
completed.
|
|
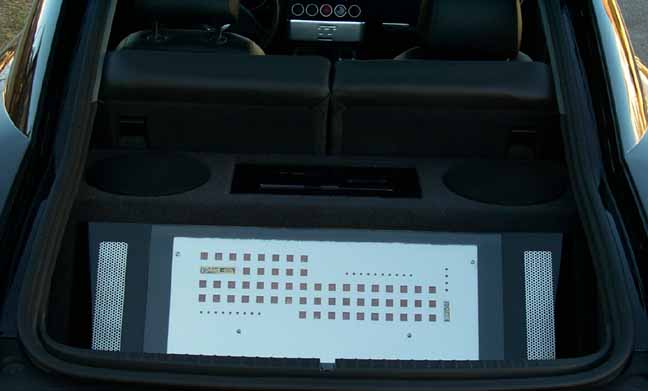
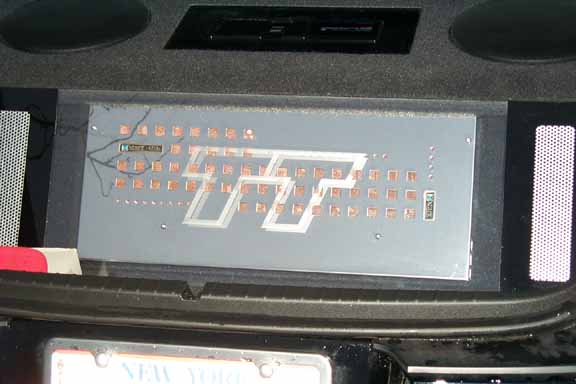
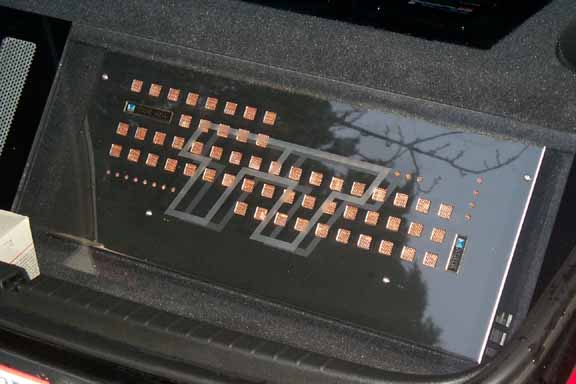
I added a nice
finishing touch to the Xtant Amp cover. I had an etched reverse
sticker made for me to install on the underside of the plexi-glass.
|
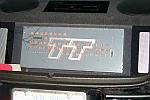
I think it
gives a really nice finishing touch to the installation. The TT
is centered and matches the radio aluminum cover!
|
You can see the TT
gives a nice depth from the reflection onto the Xtant Amp stainless
steel cover.
|
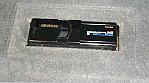
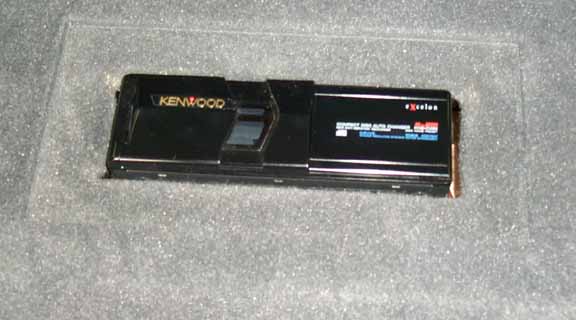
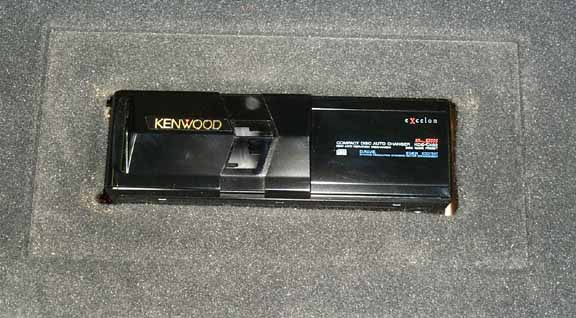
Kenwood CD
Changer without the plexi-glass surround. After this was taken I
switched out the changer for the the KDC-X85. Mine had been
skipping!
|
Another picture of the old changer before it was
swapped out. |
![]() |
![]() |
![]() |